
Adjusting column widths and row heights in Excel can make for a much nicer looking spreadsheet. No need for cells that get cut off!
And if you learn to quickly use AutoFit, you can get perfectly sized cells in no time.
Excel's AutoFit feature is designed to automatically resize cells in a worksheet to accommodate different sized data without having to manually change the column width and row height.
What I particularly like about Excel is that it provides more than one way to do most things. Depending on your preferred work style, you can auto fit columns and rows by using the mouse, ribbon or keyboard.
Excel AutoFit
AutoFit Column Width - changes the column width to hold the largest value in the column.
AutoFit Row Height - adjusts the column width to match the largest value in the row. This option expands the row vertically to hold multi-line or extra-tall text.
Unlike column width, Microsoft Excel changes the row height automatically based on the height of the text you type in a cell, therefore you won't really need to auto fit rows as often as columns. However, when exporting or copying data from another source, row heights may not auto adjust, and in these situations the AutoFit Row Height opting comes in helpful.
When resizing cells in Excel, either automatically or manually, please bear in mind the following limits to how big columns and rows can be made.
Columns can have a maximum width of 255, which is the maximum number of characters in the standard font size that a column can hold. Using a bigger font size or applying additional font characteristics such as italics or bold may significantly reduce the maximum column width. The default size of columns in Excel is 8.43.
Rows can have a maximum height of 409 points, with 1 point equal to approximately 1/72 inch or 0.035 cm. The default height of an Excel row varies from 15 points on a 100% dpi to 14.3 points on a 200% dpi.
When a column width or row height is set to 0, such column/row is not visible on a sheet (hidden).
AutoFit Column Width
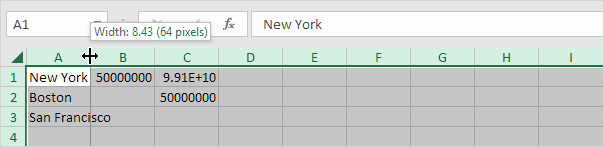
The default width of a column is 64 pixels.
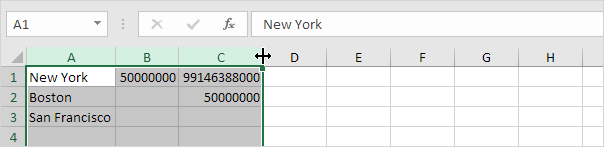
1. You can change the width of a column by clicking and dragging the right border of the column header.
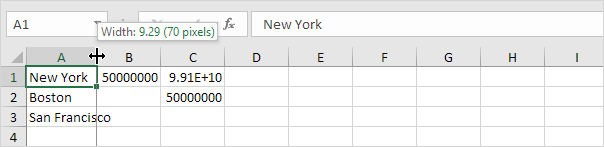
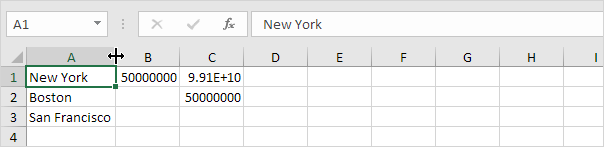
2. To automatically fit the widest entry in a column, double click the right border of a column header.
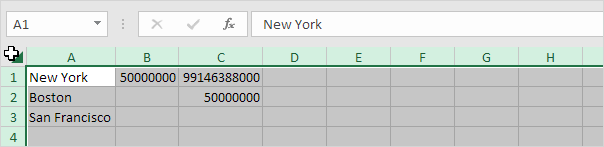
3. To autofit multiple columns, first select multiple columns by clicking and dragging over the column headers.
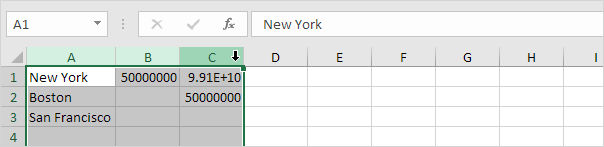
Note: to select non-adjacent columns, hold CTRL while clicking the column headers.
4. Next, double click the right border of one of the column headers.
5. To change the width of all columns, first select all columns by clicking the Select All button.
6. Next, change the width of a column.
AutoFit Row Height
The techniques described above can also be used to change the height of a row. Instead of clicking the right border of a column header, simply click the bottom border of a row header. There's one more way to autofit columns or rows.
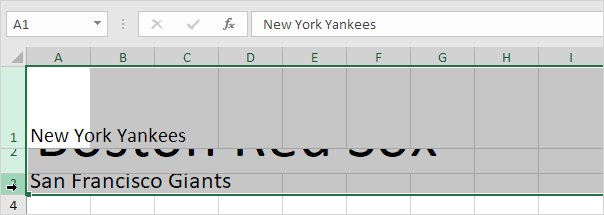
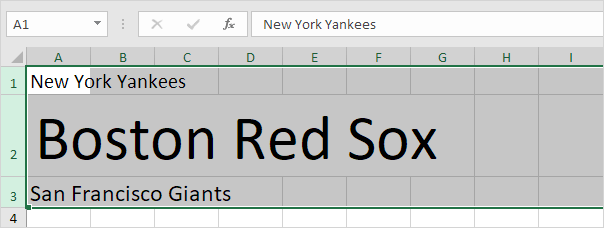
1. First, select multiple rows by clicking and dragging over the row headers.
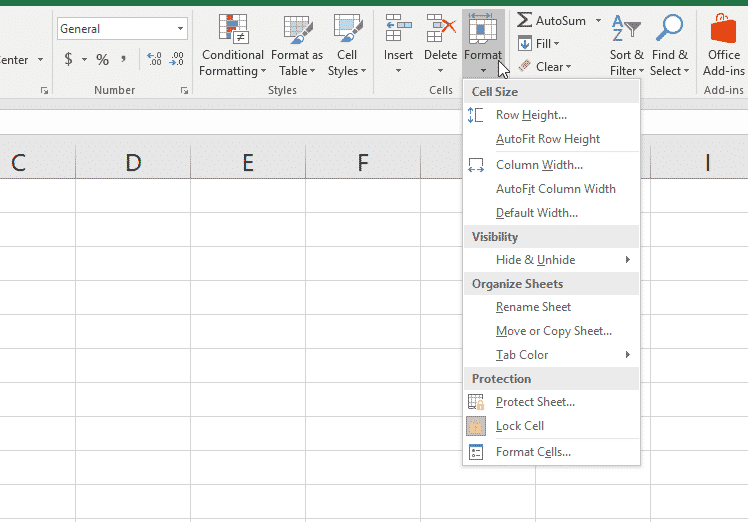
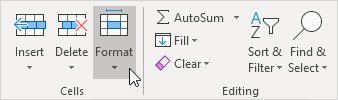
2. On the Home tab, in the Cells group, click Format.
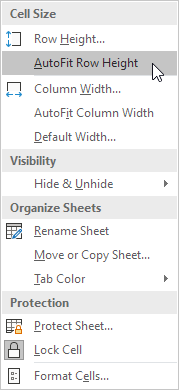
3. Click AutoFit Row Height.
Result:
Note: you can also use this technique to set a row height or a column width (see screenshot at step 3). Be careful, don't think in pixels here. The default width of a column is 8.43 units and the default height of a row is 15.00 units.