Import/Export Text Files
There are two ways to import data from a text file with Excel: you can open it in Excel, or you can import it as an external data range. To export data from Excel to a text file, use the Save As command and change the file type from the drop-down menu.
In this article we will learn how to import the text file in Excel file and how to export file into text file.
Text import feature is used, when we have to import a text file to Microsoft Excel 2010 & 2013. Examine the text import to ensure that the data which we want to be in that way is imported into Excel.
This article describes how to import or export text files. Text files can be comma separated (.csv) or tab separated (.txt)
Import
To import text files, execute the following steps.
1. On the File tab, click Open.
2. Click Browse.

3. Select Text Files from the drop-down list.
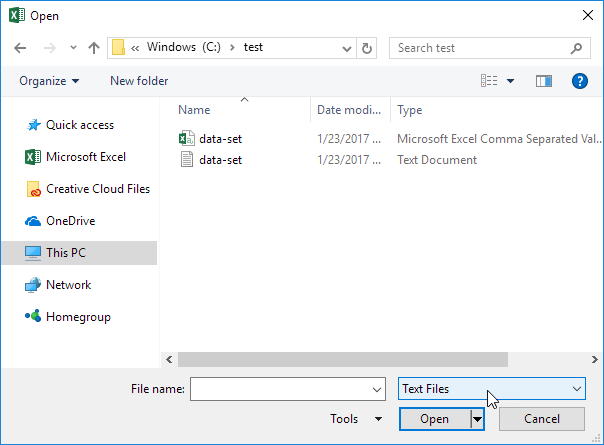
4a. To import a .csv file, select the Microsoft Excel Comma Separated Values File and click Open. That's all.
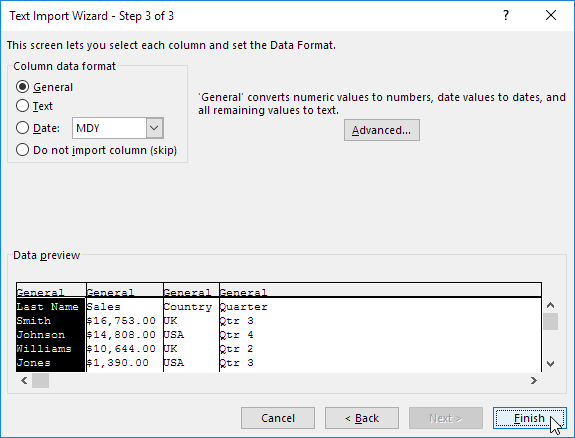
4b. To import a .txt file, select the Text Document and click Open. Excel launches the Text Import Wizard.
5. Choose Delimited and click Next.

6. Clear all the check boxes under Delimiters except for the Tab check box and click Next.
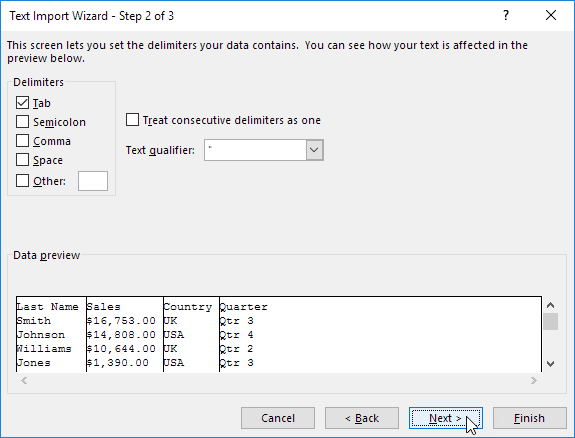
7. Click Finish.
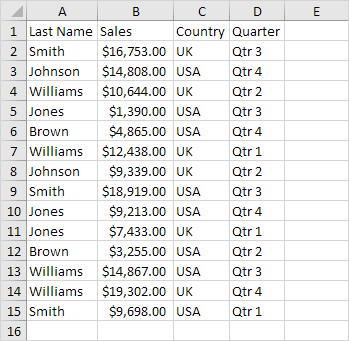
Result:
Export
To export text files, execute the following steps.
1. Open an Excel file.
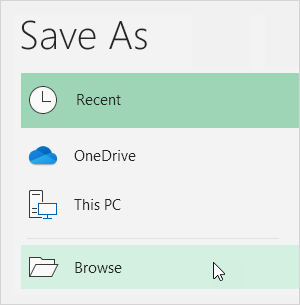
2. On the File tab, click Save As.
3. Click Browse.
4. Select Text (Tab delimited) or CSV (Comma delimited) from the drop-down list.
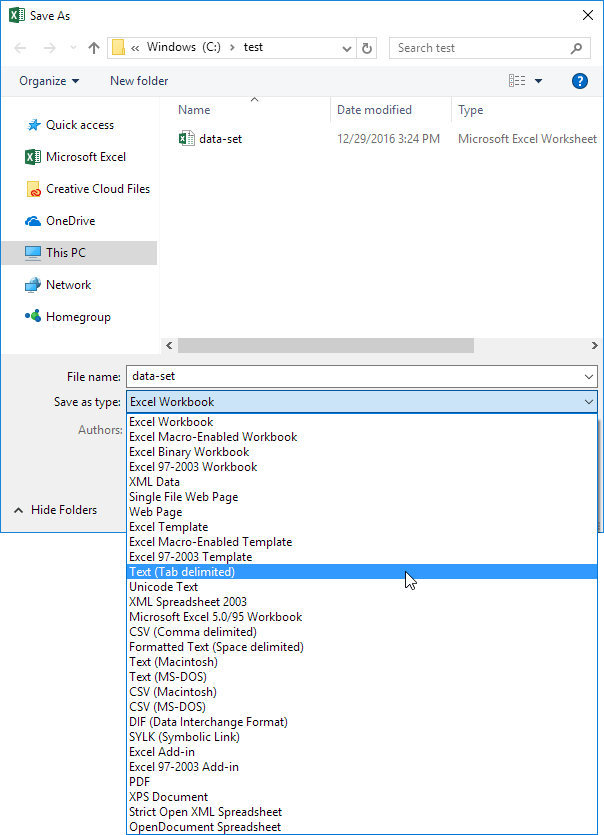
5. Click Save.
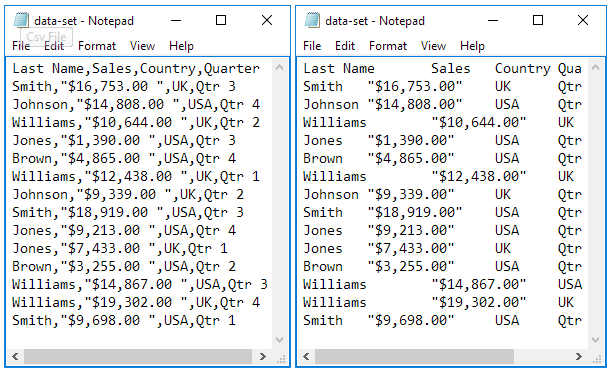
Result. A .csv file (comma separated) or a .txt file (tab separated).