

Lock Cells
Suppose that your boss wants you to protect an entire workbook, but also wants to be able to change a few cells after you enable protection on the workbook. Before you enabled password protection, you had unlocked some cells in the workbook. Now that your boss is done with the workbook, you can lock these cells.
Sometimes you may want to lock cells in Excel so that other people can’t make changes to it. It could be to avoid tampering of critical data or prevent people from making changes in the formulas.
We’re here to show you just how easy it is. Here’s how to lock cells in Excel, whether you’re a Windows 10 user or a macOS supporter.
You can lock cells in Excel if you want to protect cells from being edited.
Lock All Cells
By default, all cells are locked. However, locking cells has no effect until you protect the worksheet.
1. Select all cells.

2. Right click, and then click Format Cells (or press CTRL + 1).
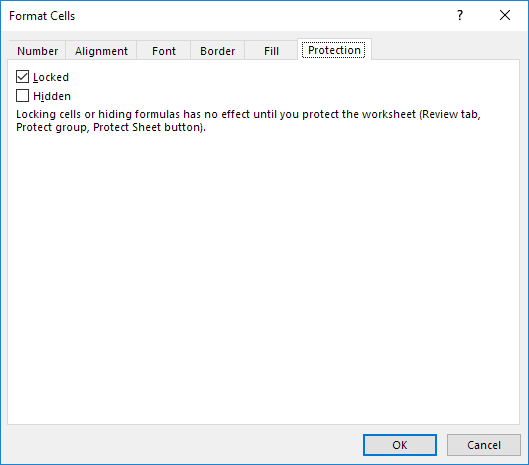
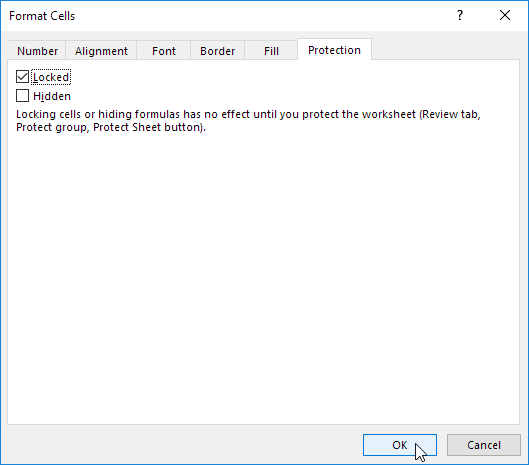
3. On the Protection tab, you can verify that all cells are locked by default.
4. Click OK or Cancel.
5. Protect the sheet.
All cells are locked now. To unprotect a worksheet, right click on the worksheet tab and click Unprotect Sheet. The password for the downloadable Excel file is “easy”.
Lock Specific Cells
To lock specific cells in Excel, first unlock all cells. Next, lock specific cells. Finally, protect the sheet.
1. Select all cells.
2. Right click, and then click Format Cells (or press CTRL + 1).
3. On the Protection tab, uncheck the Locked check box and click OK.

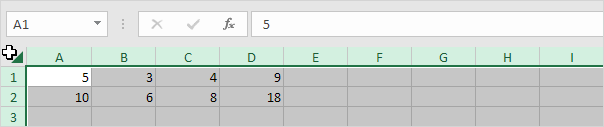
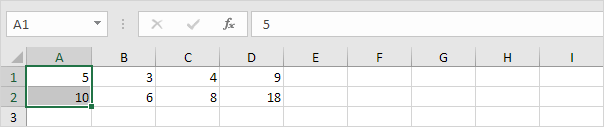
4. For example, select cell A1 and cell A2.
5. Right click, and then click Format Cells (or press CTRL + 1).
6. On the Protection tab, check the Locked check box and click OK.

Again, locking cells has no effect until you protect the worksheet.
7. Protect the sheet.
Cell A1 and cell A2 are locked now. To edit these cells, you have to unprotect the sheet. The password for the downloadable Excel file is “easy”. You can still edit all other cells.
Lock Formula Cells
To lock all cells that contain formulas, first unlock all cells. Next, lock all formula cells. Finally, protect the sheet.
1. Select all cells.

2. Right click, and then click Format Cells (or press CTRL + 1).
3. On the Protection tab, uncheck the Locked check box and click OK.

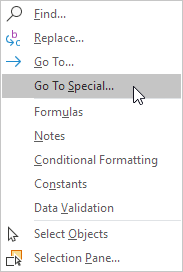
4. On the Home tab, in the Editing group, click Find & Select.
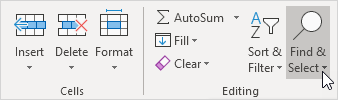
5. Click Go To Special.
6. Select Formulas and click OK.
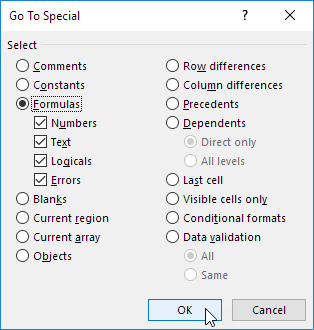
Excel selects all formula cells.

7. Press CTRL + 1.
8. On the Protection tab, check the Locked check box and click OK.
Note: if you also check the Hidden check box, users cannot see the formula in the formula bar when they select cell A2, B2, C2 or D2.
Again, locking cells has no effect until you protect the worksheet.
9. Protect the sheet.
All formula cells are locked now. To edit these cells, you have to unprotect the sheet. The password for the downloadable Excel file is “easy”. You can still edit all other cells.