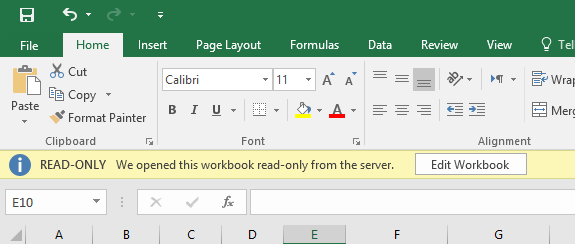
Read-only Workbook
If you don't want content reviewers to accidentally modify your document, you can make the document read only before sending it for review. Another method is to restrict formatting and editing.
Making your document a read-only file means that the document can be read or copied but not modified. If one of the reviewers tries to make changes to a read-only file, the changes can be saved only by giving the document a new name or saved to a new location.
In this tutorial, you will learn how to make Excel document read-only. Open Excel file you need. Click on ‘File’ at the top right corner and then click on ‘Protect Workbook’.
Choose ‘Mark as Final’ from the list. Click ‘Ok’ in the pop-up window. Click ‘Ok’ in another pop-up window. Your document is now in read-only mode.
This example shows you how to make your workbook read-only. Users can still save changes by creating a new copy of the workbook. For a better protection, protect a sheet.
1. Open a workbook.
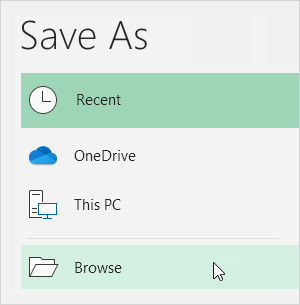
2. On the File tab, click Save As.
3. Click Browse.
4. Click on the Tools button and click General Options.
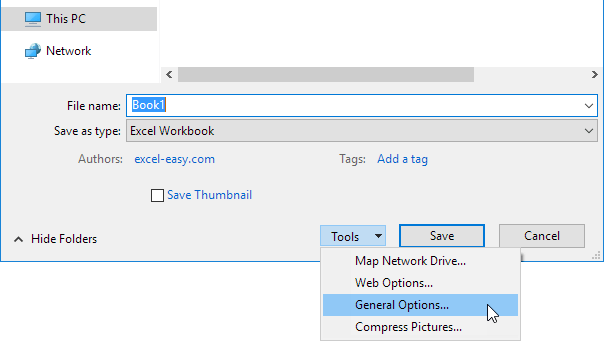
5. In the Password to modify box, enter a password and click OK.
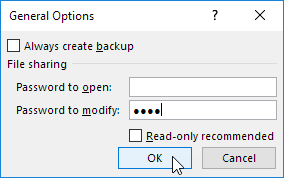
Note: If you only want to recommend users to open the Excel file as read-only, without protecting it, don't enter a password and check Read-only recommended.
6. Reenter the password and click on OK.
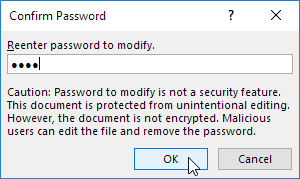
Note: this feature does not encrypt your Excel file. Malicious users can edit the file and remove the password.
7. Enter a file name and click Save.
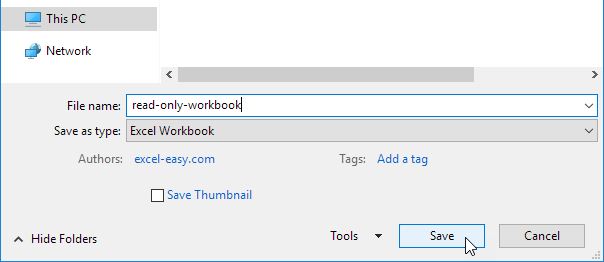
Your workbook is read-only now. The password for the downloadable Excel file is “easy”.