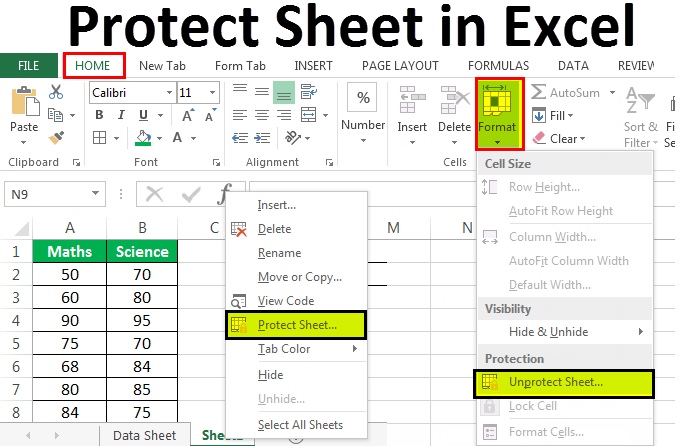
Protect Sheet
By default, protecting a worksheet locks all cells so none of them are editable. To enable some cell editing, while leaving other cells locked, it's possible to unlock all the cells. You can lock only specific cells and ranges before you protect the worksheet and, optionally, enable specific users to edit only in specific ranges of a protected sheet.
To prevent other users from accidentally or deliberately changing, moving, or deleting data in a worksheet, you can lock the cells on your Excel worksheet and then protect the sheet with a password. Say you own the team status report worksheet, where you want team members to add data in specific cells only and not be able to modify anything else. With worksheet protection, you can make only certain parts of the sheet editable and users will not be able to modify data in any other region in the sheet.
Protect your complicated formulas in Excel by locking down certain cells, or hiding the formulas used in the cells. Only allow users to edit cells where needed.
When you share an Excel file with other users, you may want to protect a worksheet to help prevent it from being changed.
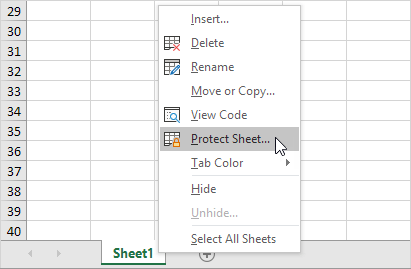
1. Right click a worksheet tab.
2. Click Protect Sheet.
3. Enter a password.
4. Check the actions you allow the users of your worksheet to perform.
5. Click OK.
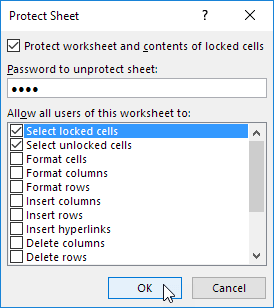
Note: if you don't check any action, users can only view the Excel file!
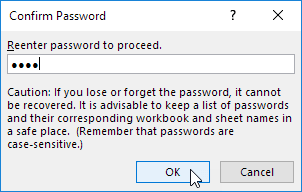
6. Confirm the password and click OK.
Your worksheet is protected now. To unprotect a worksheet, right click on the worksheet tab and click Unprotect Sheet. The password for the downloadable Excel file is “easy”.