
Protect Workbook
If you have designed a workbook’s structure, and do not want others to change it such as adding or deleting new worksheets except editing the cells, how can you do? Now I will tell you some tricks to protect workbook’s structure only in Excel.
When sharing your worksheets with other people or sending your Excel files outside of your organization, you may want to prevent other users from changing cells that shouldn't be changed, and also from moving or deleting important data in your worksheet or workbook.
Luckily, Excel provides a quick and easy way to lock a sheet or password protect an entire workbook to prevent accidental or deliberate changes in their contents.
This example teaches you how to protect the workbook structure in Excel.
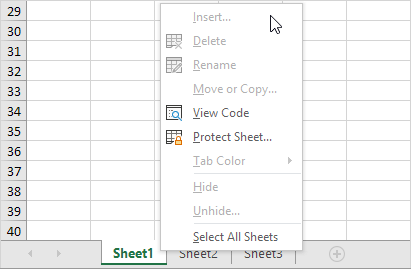
If you protect the workbook structure, users cannot insert, delete, rename, move, copy, hide or unhide worksheets anymore.
1. Open a workbook.
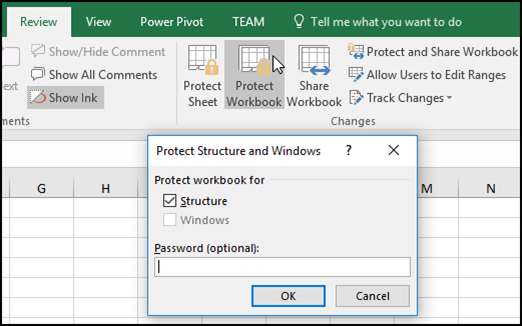
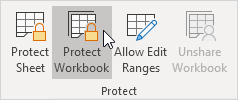
2. On the Review tab, in the Protect group, click Protect Workbook.
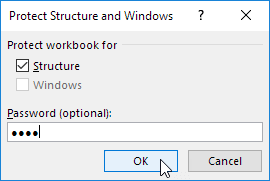
3. Check Structure, enter a password and click OK.
Note: The Windows option is not available in Excel 2013 and later versions.
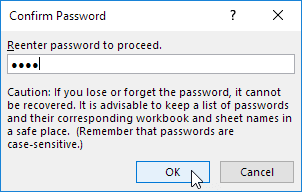
4. Reenter the password and click on OK.
Users cannot insert, delete, rename, move, copy, hide or unhide worksheets anymore.
Note: to unprotect the workbook, click Protect Workbook and enter the password. The password for the downloadable Excel file is “easy”.