Print Area
If you print a specific selection on a worksheet frequently, you can define a print area that includes just that selection. A print area is one or more ranges of cells that you designate to print when you don't want to print the entire worksheet. When you print a worksheet after defining a print area, only the print area is printed. You can add cells to expand the print area as needed, and you can clear the print area to print the entire worksheet.
A worksheet can have multiple print areas. Each print area will print as a separate page.
If you set a print area in Excel, only that area will be printed. The print area is saved when you save the workbook.
To set a print area, execute the following steps.
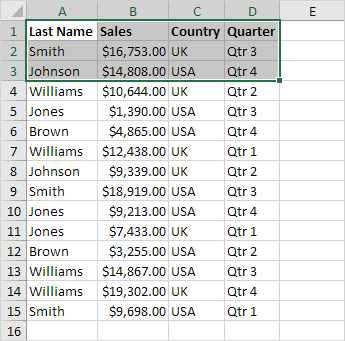
1. Select a range of cells.
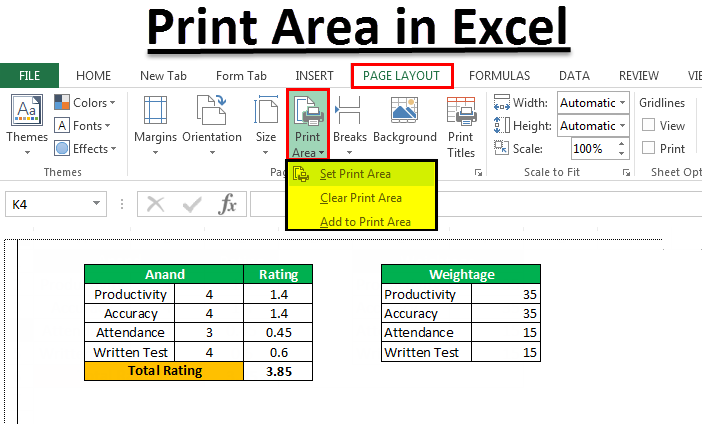
2. On the Page Layout tab, in the Page Setup group, click Print Area.
3. Click Set Print Area.
4. Save, close and reopen the Excel file.
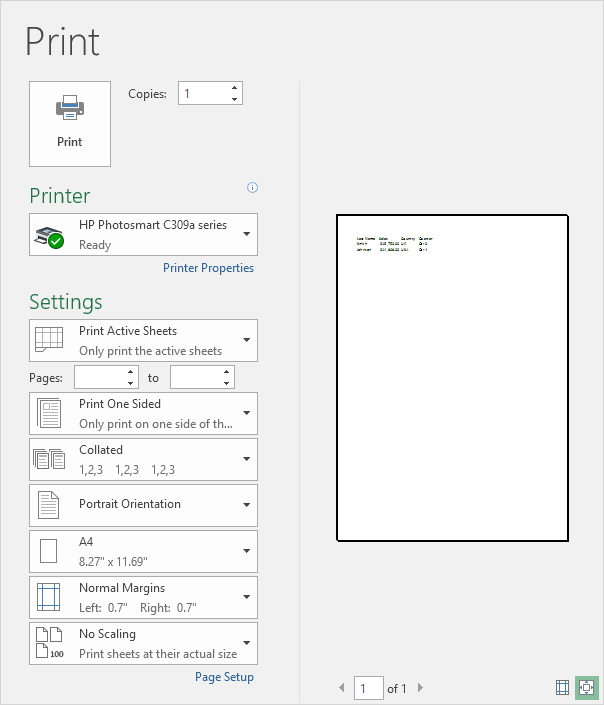
5. On the File tab, click Print.
Result. See the print preview below. Only the print area will be printed.
6. Use the Name Manager to edit and delete print areas.


