Page Breaks
The Page Break preview feature in Excel 2016 enables you to spot and fix page break problems in an instant, such as when the program wants to split information across different pages that you know should always be on the same page.
Adjust page breaks to control what is printed on each page.
Insert a page break in Excel to specify where a new page will begin in the printed copy.
To insert a horizontal page break, execute the following steps.
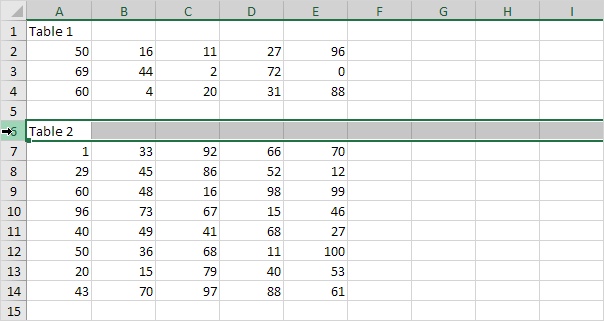
1. Select the first row of the new page.
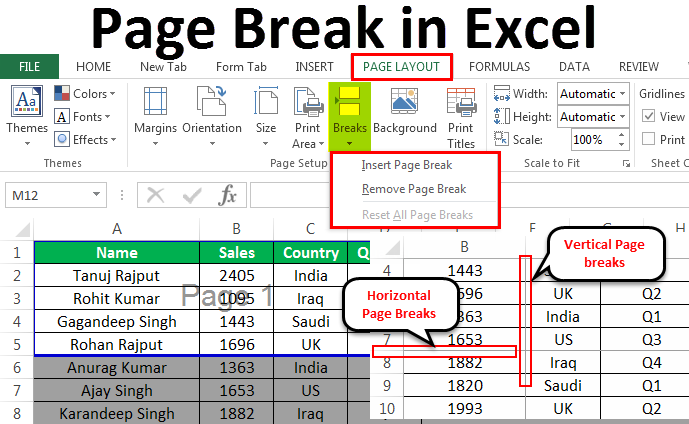
2. On the Page Layout tab, in the Page Setup group, click Breaks.
3. Click Insert Page Break.
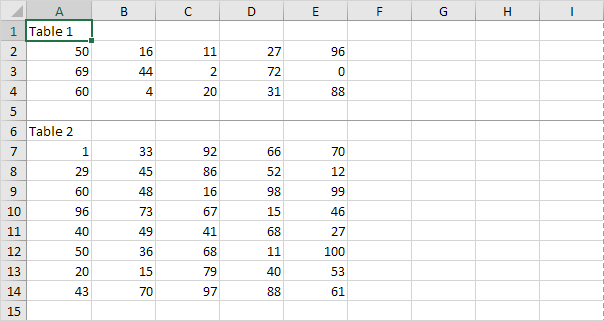
Excel displays a solid line (manual page break) to show you where the new page begins. Dashed lines are page breaks inserted automatically by Excel.
Note: in a similar way, you can select a column to insert a vertical page break.
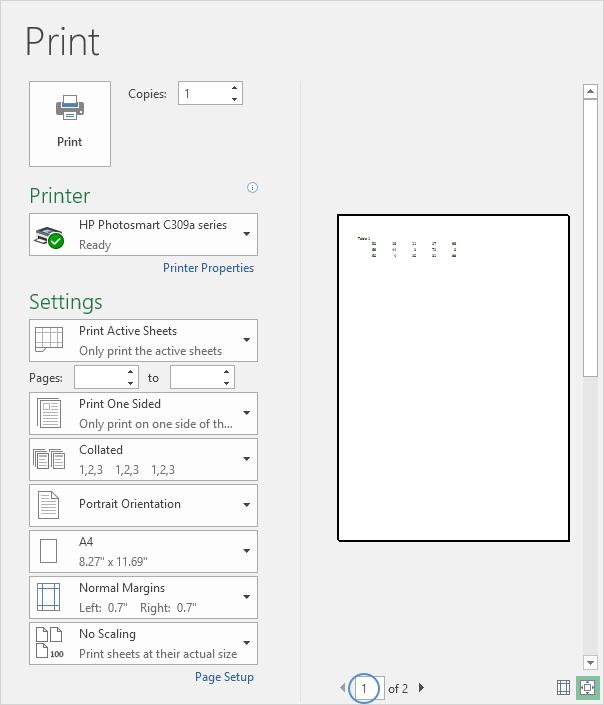
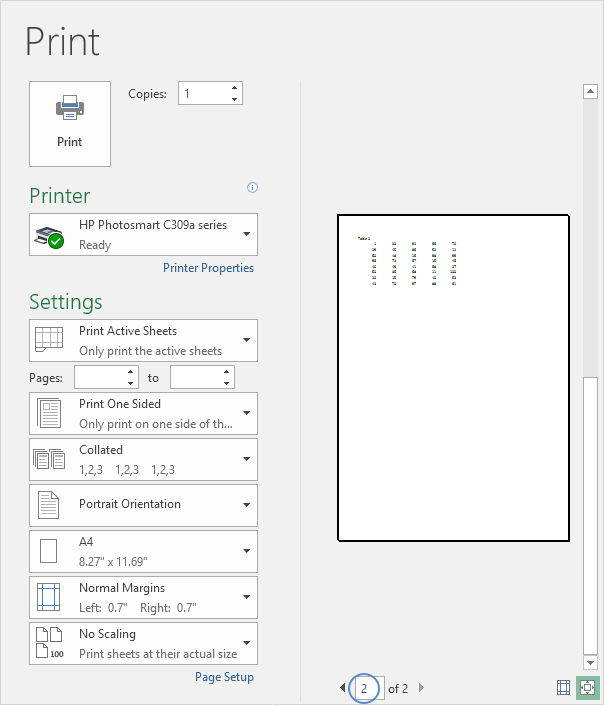
4. On the File tab, click Print for a print preview.
Note: to remove a horizontal page break, select a cell below the page break that you want to remove and click Breaks, Remove Page Break. To remove all manual page breaks, click Breaks, Reset All Page Breaks. You cannot remove automatic page breaks.
