
Excel allows you to change the overall look of your workbook with just one click.
This is called a Theme.
A theme includes:
- A set of colors
- Two fonts (one for headings, one for body text)
- Visual effects for shapes and SmartArt
When you change a theme, your entire workbook updates automatically.
Table of Contents
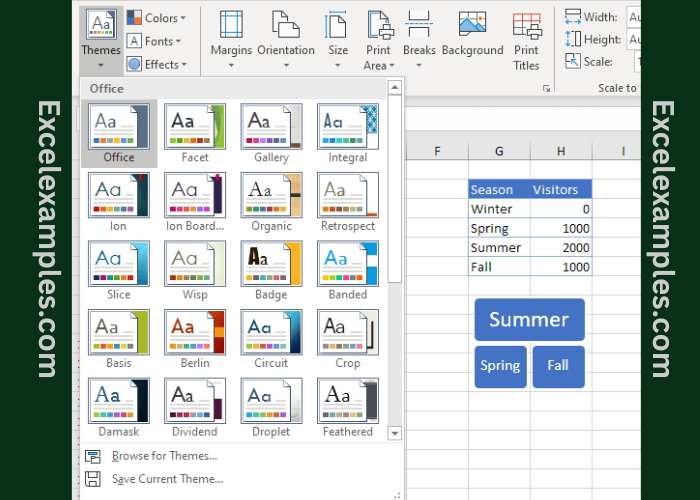
Step 1: Check the Current Theme
- Open your Excel workbook.
- Click the Page Layout tab at the top.
- Look at the Themes group on the left.
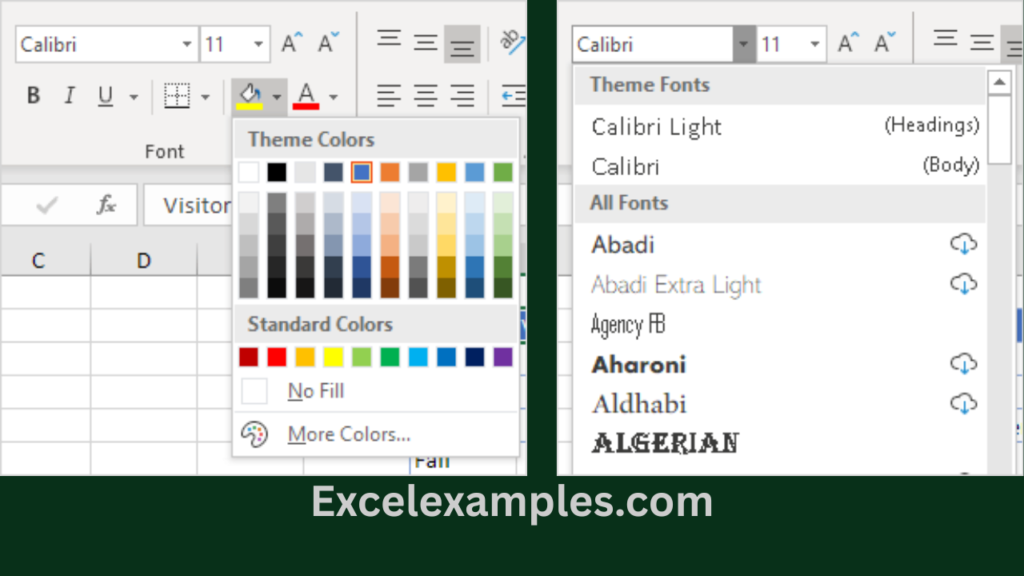
Step 2: See the Theme Colors and Fonts
- Click the Home tab.
- In the Font group:
- Click the Font Color arrow to see the Theme Colors
- Click the Font dropdown to see the Theme Fonts
👉 In the Office theme, the fonts are:
- Calibri Light (for headings)
- Calibri (for body text)
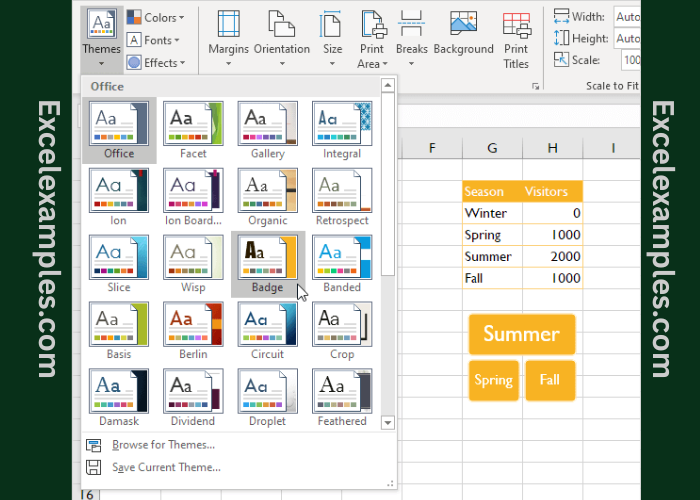
Step 3: Change the Theme (Example: Badge Theme)
- Go back to the Page Layout tab.
- In the Themes group, click Themes.
- Click Badge.
✅ Your workbook now changes automatically:
- Colors update
- Fonts change
- Shapes and charts look different
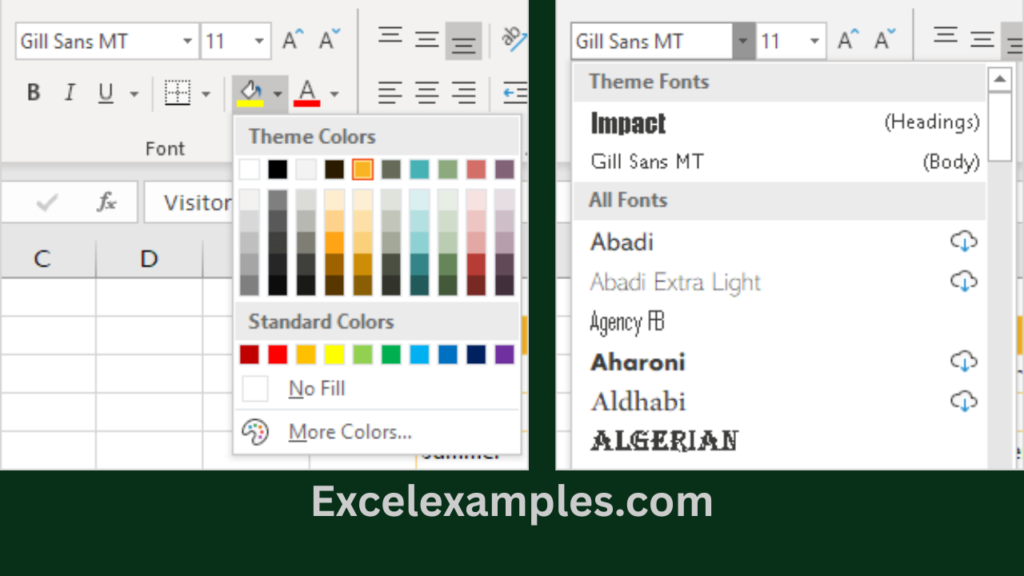
Step 4: Check the New Colors and Fonts
- Click the Home tab again.
- In the Font group:
- Open the Font Color list → you will see new theme colors
- Open the Font list → you will see new fonts
👉 The Badge theme uses:
- Impact (headings)
- Gill Sans MT (body text)
Bonus: Create and Save Your Own Theme
You can make a theme that matches your style or company brand.
- Go to Page Layout → Themes group
- Click Colors → Customize Colors
- Click Fonts → Customize Fonts
- After customizing, click Themes → Save Current Theme
🎉 Your theme is now saved and can be used:
- In all Excel workbooks
- In Word and PowerPoint too