
The steps to enable macros in Excel on macOS are different from Windows. On a Mac, macro settings are controlled from Excel Preferences instead of the Trust Center inside the workbook.
If you are using Excel on macOS and your macros are not running, follow the steps below.
Table of Contents
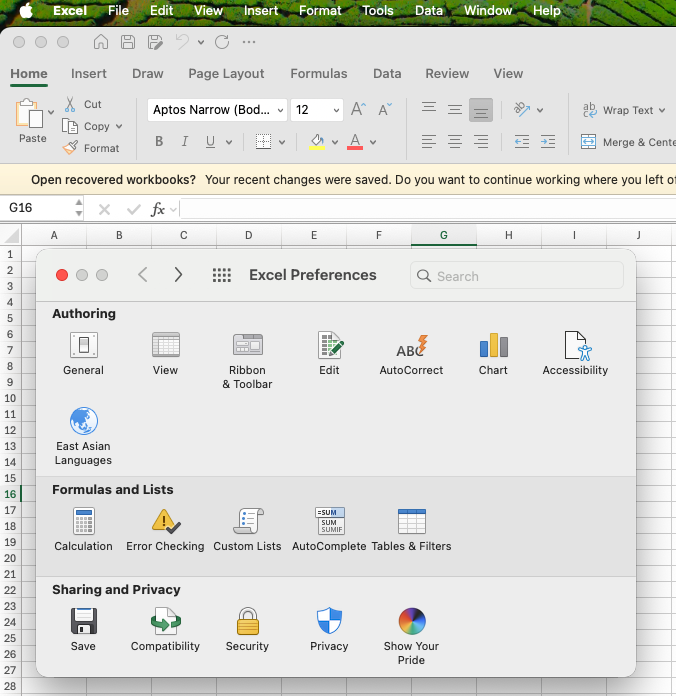
Step 1: Open Excel Preferences
First, you need to access Excel’s main settings.
- Open Microsoft Excel
- Click Excel in the top menu bar
- Select Preferences…
This opens the Excel Preferences window where security and macro settings are stored on macOS.

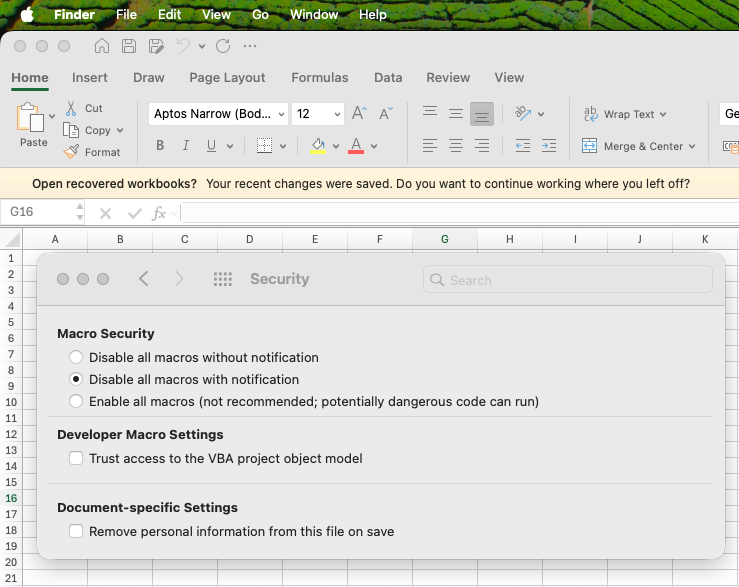
Step 2: Go to Security Settings
Inside Excel Preferences, macro controls are located under Security.
- In Excel Preferences, look for the Sharing and Privacy section
- Click Security
You will now see the Macro Security options.
Step 3: Adjust the Macro Security Setting (Recommended)
In the Macro Security section, Excel provides three options:
- Disable all macros without notification
- Disable all macros with notification (recommended)
- Enable all macros (not recommended)
👉 The recommended setting is Disable all macros with notification.
This option keeps macros blocked by default but shows a warning when a file contains macros, allowing you to enable them only for trusted files.
Avoid choosing Enable all macros, as it allows all macros to run automatically and can be unsafe.
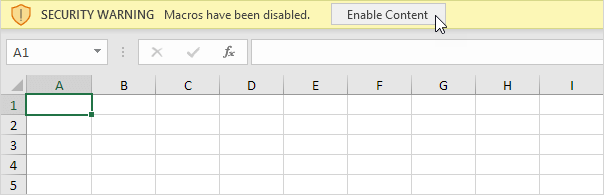
Step 4: Reopen the Workbook if Needed
After changing the macro security setting:
- Close the Excel file
- Reopen the macro-enabled workbook
- Click Enable Content if a security warning appears
Macros will now run for that file.
Important Notes for Excel on Mac
- Macro-enabled files must be saved as .xlsm
- Excel Online does not support macros
- Most basic VBA macros work on Mac, but some advanced or Windows-specific VBA features may be limited
Quick Summary for Mac Users
- Open Excel → Preferences
- Go to Security
- Select Disable all macros with notification
- Enable macros only for trusted files