Cell Styles help you quickly format cells with just one click.
Instead of changing font, color, borders one by one, you can apply a ready-made style instantly.
Table of Contents
1. Apply a Built-in Cell Style
Steps:
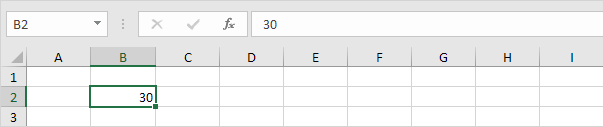
- Select a cell (e.g., B2)
- Go to the Home tab

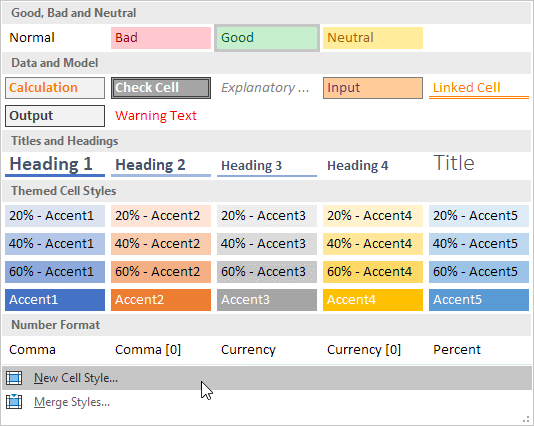
- In the Styles group, click Cell Styles
- Choose a style you like
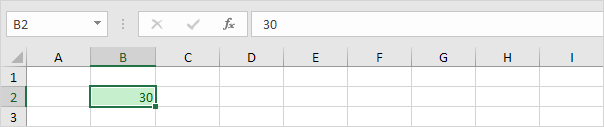
Result:
2. Create Your Own Cell Style
If the built-in styles are not enough, you can make your own.
Steps:
- Go to Home tab
- Click the small arrow in the Styles group
- Click New Cell Style
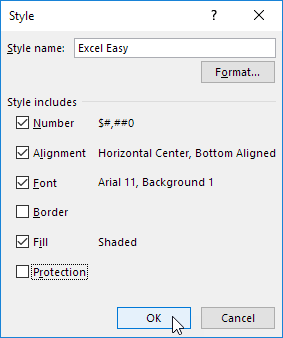
- Enter a name
- Click Format… and customize:
- Number format
- Alignment
- Font
- Border
- Fill (color)
- Click OK

3. Use Your Custom Style
- Select a cell or range
- Go to Cell Styles
- Click your custom style
4. Edit or Delete a Style
- Right-click a style → Modify or Delete
- If you modify a style → it updates all cells using it
👉 This is very powerful and saves time!
5. Use Styles in Another Workbook
- Open both Excel files
- Go to Cell Styles → Merge Styles
- Import styles from the other file
Table Styles
You can also format a whole table quickly:
- Select a range of cells
- Go to Home → Format as Table
- Choose a style
Important Notes
- Cell styles are saved in the workbook where you create them
- Changing a style affects all cells using that style
- Great for keeping formatting consistent